Tag Archives: snowflakes

Experimentation: China Glaze – There’s Snow One Like You Stamping

Hey Everyone! We got a nice snow dusting over the weekend, I think it ended up being a couple inches or so but when I came out of work Saturday night & went to brush off my car I got to see for the first time snowflakes that looked very much like our stamping plates : ) They were a good quarter inch wide and when the light hit them the right way they looked just like the ones we stamp on our nails, lol.  It was so awesome!   And this is why I just love snow!  I’m from the South and this is only my 5 winter, and boy is it being a REALLY good one!!!!

20140211-084848.jpg


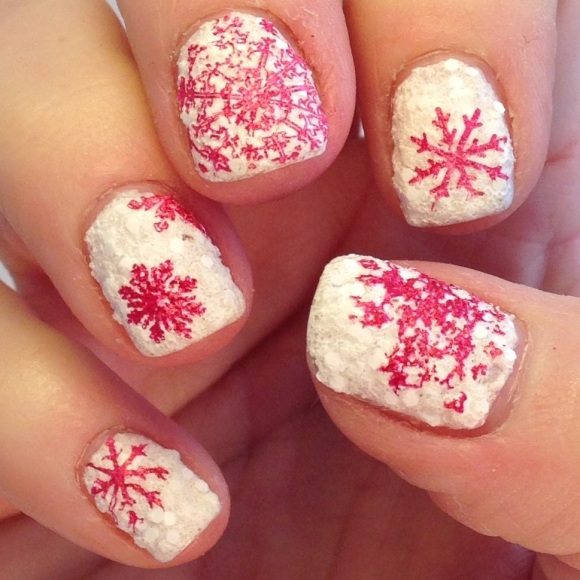
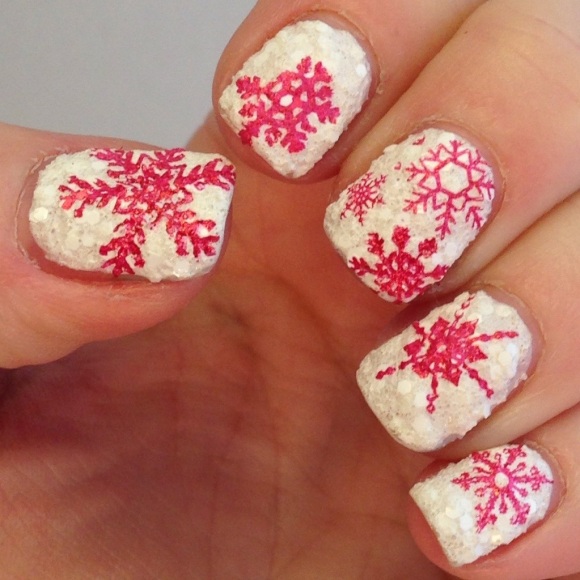
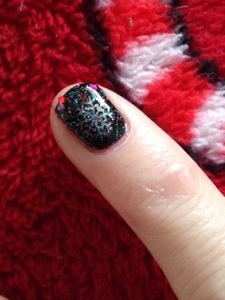
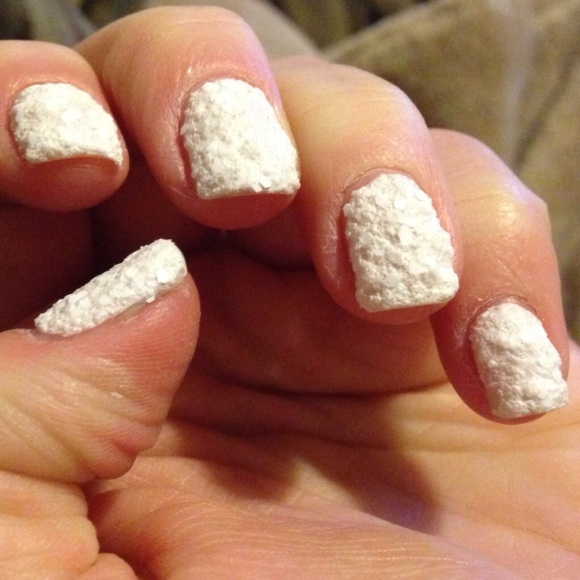
So I thought I was done with snow nails but then that happened and I got all excited about snow again.  And I hadn’t technically used There’s Snow One Like You that much so I thought I’d give it a good go.  I wanted to pile it on pretty good and get it looking like a real snow fall so I dabbed it on a bit.  I can see why everyone was pretty disappointed with it.  It was pretty difficult to smooth it over the nail, you can see that I didn’t get it very close to the cuticle either.  I was in a bit of haste and wasn’t trying very hard, I believe it would take a good bit of patience to lay it out right.


20140211-084923.jpg


The biggest problem with TSOLY is that it is really textured!  I wore it about a day and it was already starting to chip like crazy, not to mention snag on everything.  TSOLY is really a polish just for looks, its horrible at functionality, but I love snow, I love the look of it, so when I saw this polish I knew I had to have it!

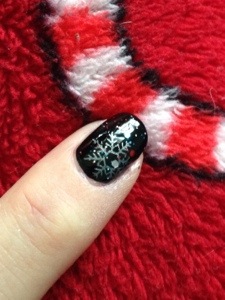
I had 2 full days of working so my cuticles are shot again.  I got them a bit more taken care of last night but they still need help, lol…. Anyways… I had had an idea to stamp red flakes over white from a mug I have with the same design so I decided I’d give it a go over top of the snow texture.  I used China Glaze Just Be-Claws for the stamping.  Its a foil, seemed kind of thin, but ended up stamping quite well.  More about that collection later.  It was extremely bumpy, but for the most part worked out pretty nicely, the overall idea anyway.  It did about as well as you would expect stamping on such a heavy texture… That being said, the right hand did not come out so nicely…  It was truly an experiment and at this point I’m just satisfied that I tried it and now I know….  

Did you buy There’s Snow One Like You??  Did you like it?  Did you use it for any designs??  If so, how did it work out for you??  Like some feedback in the comments, I’d love to hear your stories!
 

20140211-084930.jpg

Tagged , , , , , , , , , , ,

2014 52 Week Nail Art Challenge! Week 6 Groundhog Day/Season Change

20140202-150413.jpg


Well, first off sorry for the blurry pic there : ( I guess it was too much gloss… Well, moving right along with week 6 of my 2014 52 Week Nail Art Challenge!  6 weeks already…. It just flies by!  And according to Phil we have 6 more weeks of Winter.  Honestly, according to the solstice and the angle of the sun we’re having it at least until March 23, thank you Bill Murray, lol.

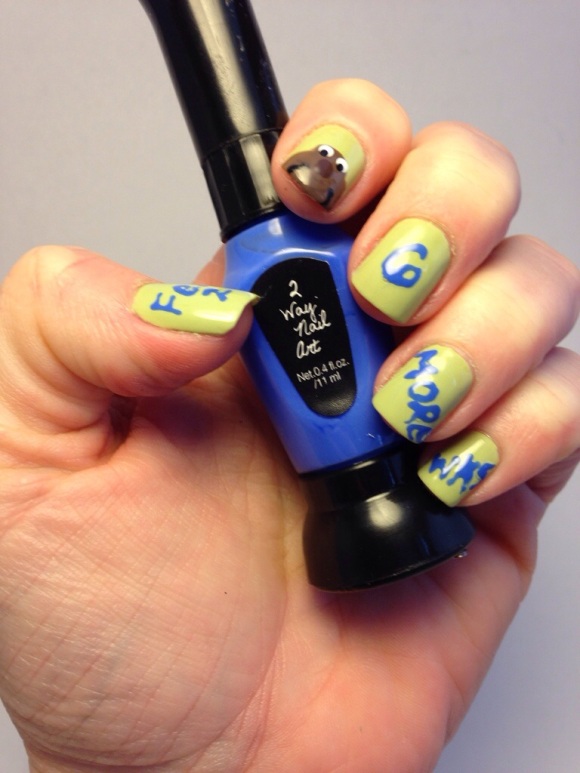
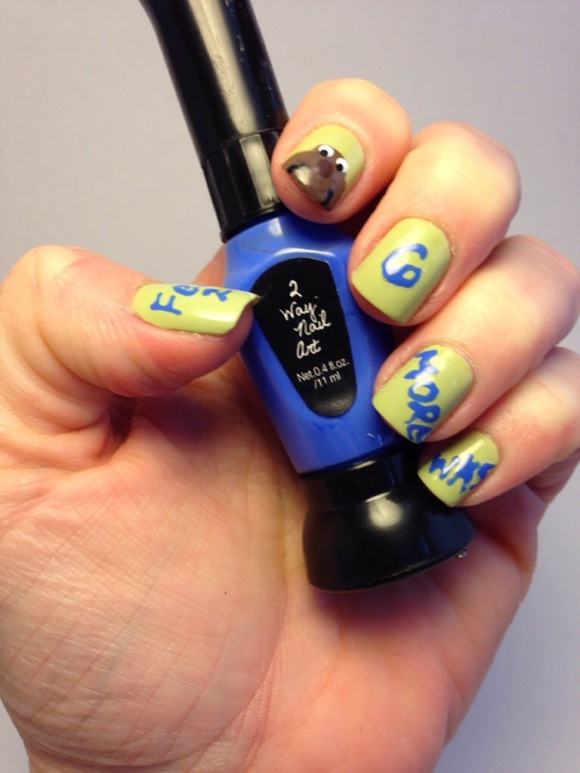
Week 6 is Groundhog Day or inspired by season change.  I went with Groundhog Day and tried to cartoon out a little image of Punxsutawney Phil, lol.  Not quite how I pictured it.  I wanted to represent his big brown nose, give him some big beady cartoonish eyes and try to detail in some cute little arms that look adorably ready for hugging (in my fantasy life I want to go see Phil and I imagine I’d be lucky enough to snuggle his cute little self, but more on that in a minute, lol).  Well, I guess that qualifies as a fail, you can be the judge, lol!  The base mossy color is Love & Beauty but I don’t know the name because it somehow got lost off the bottom (if anyone knows, please tell me because I searched online & its driving me crazy, lol).  For Phil I used Sinful Colors Nirvana with Revlon Hot for Chocolate (that I frankened lighter) for his nose and  Sally Hansen Chocolate Creme for his arms.  I use Nina Ultra Pro for black & white.


20140202-150425.jpg


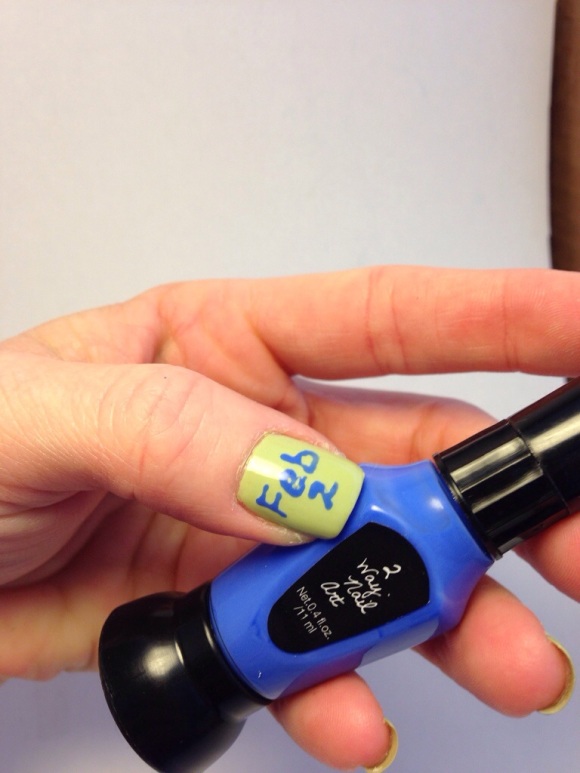
For the thumb & the rest of the forefingers I decided to try out my new 2 way nail pen I got at H&M a couple weeks ago.  It is nameless.  I’ve had my eye on similar pens you can buy in bulk on various sites (Ebay, Amazon I think, and The Born Pretty Store) so I wanted to try one (it was on pretty crazy clearance btw, too) to see how they work before I got myself stuck with a ton of them.  I think it works ok, could work better I’m sure but I just have to get used to it more.  I also think it would have been better had I stuck to a design instead of writing, at least at first.  I was able to correct a couple areas carefully with a dotting tool or wiping a bit of it off with my finger.


20140202-150436.jpg


On the other hand I decided to go with snowflakes for the representation of the 6 more weeks of winter, and for my sake, I hope just a little more snow.  Or at least for the snow that is on the ground to stay there.  I just love the way it looks, a few good inches on the ground is my idea of winter, and if it isn’t there it just isn’t winter without it : )

On my pinky I tried to use the brush end of the 2 way pen to use for stamping, the formula is just too thin so I switched to Pure Ice French Kiss for the rest of the snowflakes.  I left the pinky even though its a little light and came out blurry.  On my middle finger & thumb I had snowflakes come out half stamped so I stamped over them, lol… No better, but no worse I suppose… All in all I like the way most of the flakes came out and I like the color combo… Not something you see everyday, so its a half win I suppose, lol…


20140202-150444.jpg


So the reason I chose to immortalize Phil in nail art is because every year I get excited about going to Punxsutawney to see Phil emerge from his hole to see his shadow and so far every year near the end of January I get all grumpy that I won’t be able to go, lol, poor planning unfortunately… That and life happens, sometimes the money just isn’t there… That and I have to say it sounds like fun until you’re standing in a field in the middle of the night with hundreds of other crazies in teen to twenty degree weather to see a rodent predict the weather, lol, yep, still sounds like fun! Well, until next time, Happy Painting!


20140202-150450.jpg

20140202-150502.jpg

Tagged , , , , , , , , , ,

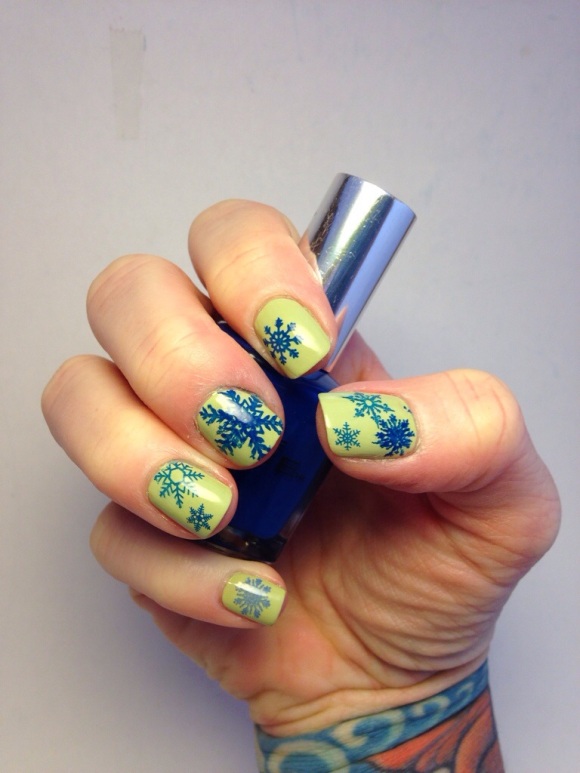
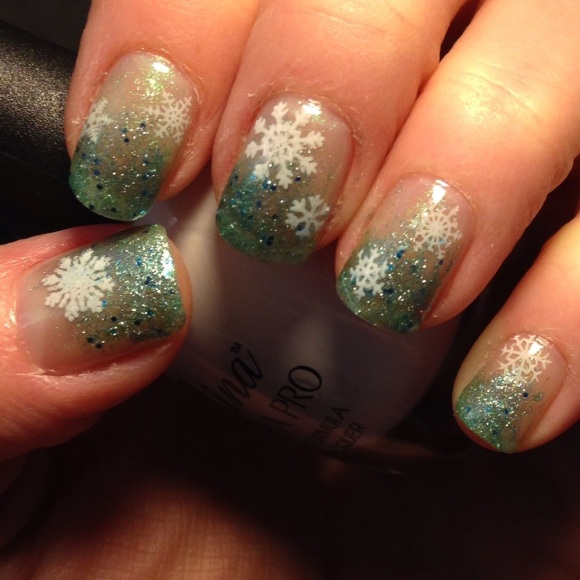
2014 52 Week Nail Art Challenge! Week 2: Snowy/Snowflake

20140107-021907.jpg


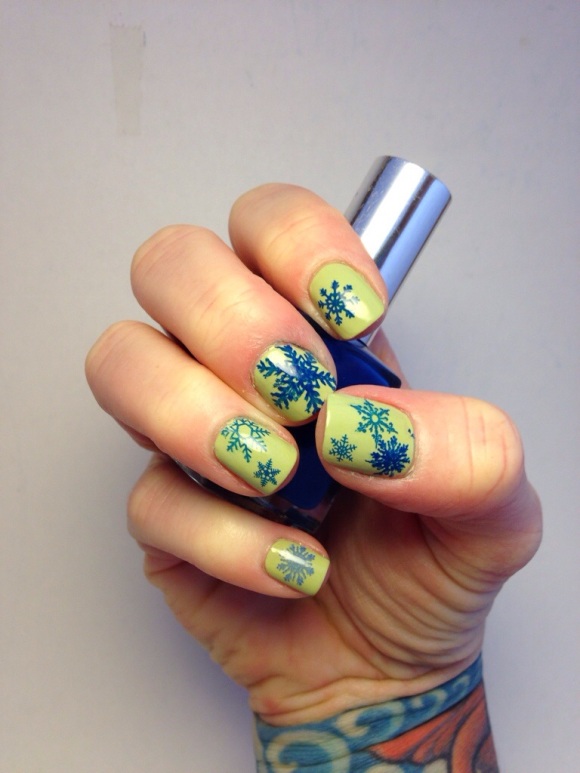
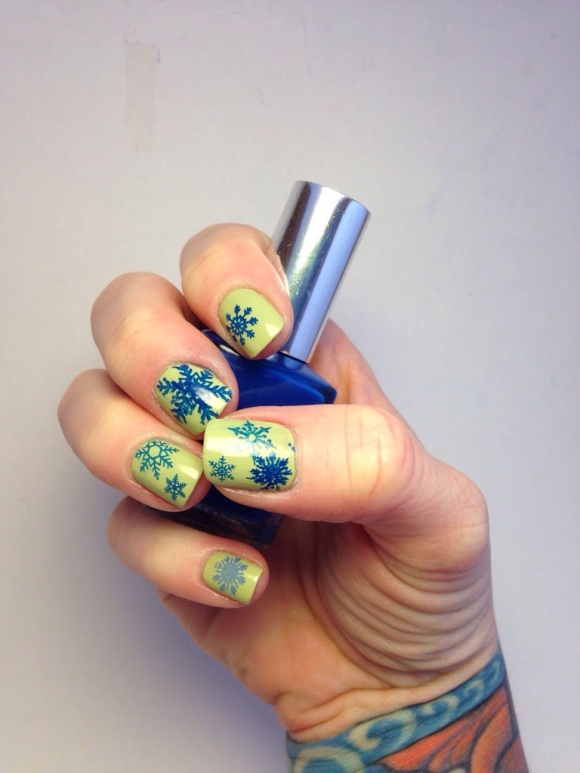
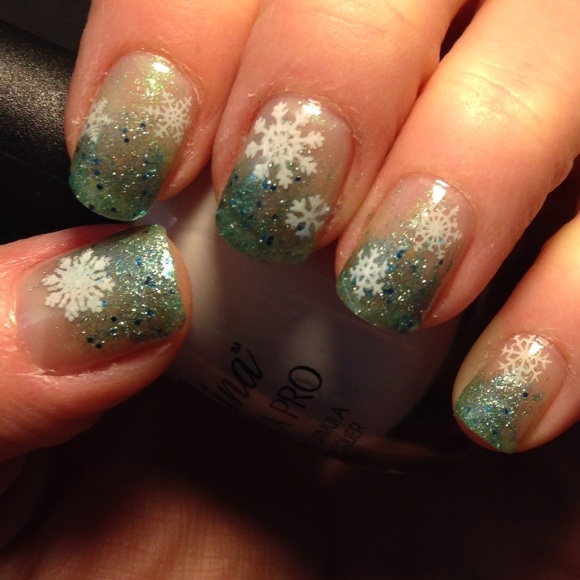
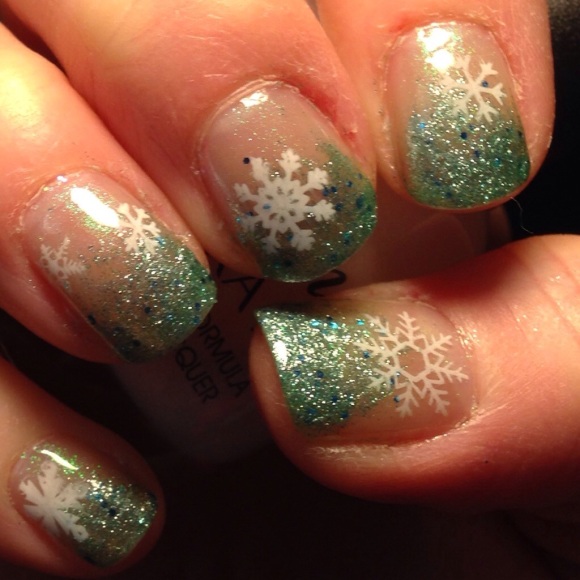
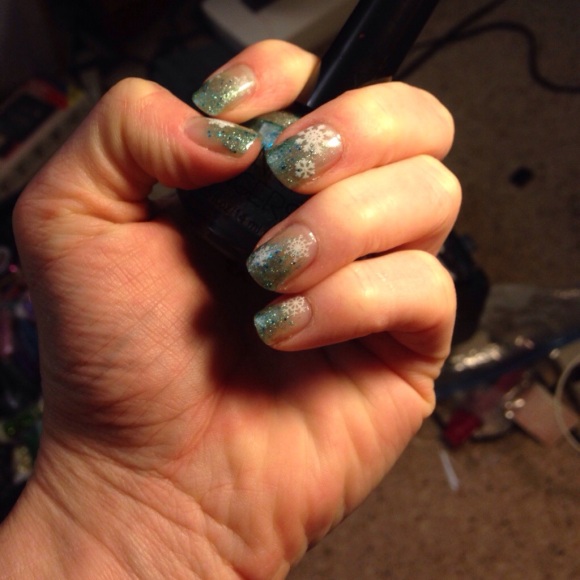
Ok, so week 2 of 2014 and the 2014 52 week nail art challenge!  This week the theme is snow or snowflakes.  I should have made it a little further in the challenge, because yes, I kinda snowflaked myself out at Christmas time, lol… But I bounced back and came up with this idea after doing this gradient on my friend the other day in this previous post.  I really loved the two colors together and it revived the wintery-snow look for me, add some snowflakes and voilà! week two is done! : )


52wknailchall


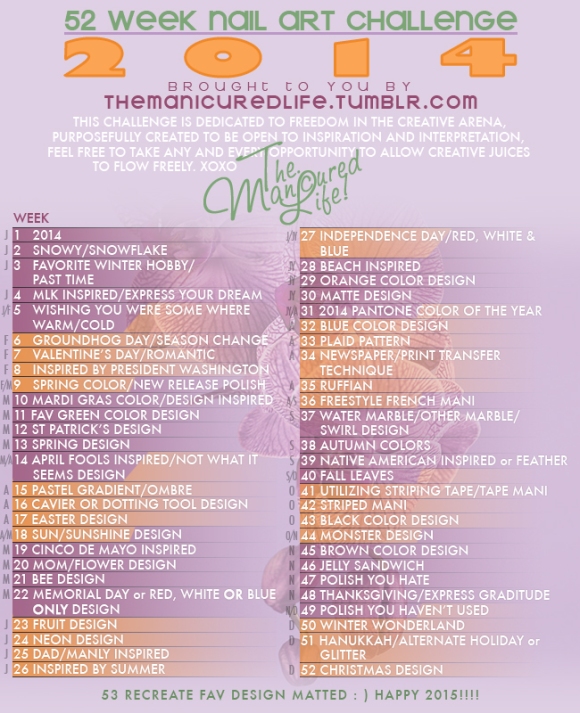
Here is the challenge schedule for anyone who would like to join in, I just love seeing everyone else’s interpretations, or as I like to say, the more the merrier! It’s never too late, we have many, many weeks to go, so now or never, right?? Also I’d like to take this time to apologize for my poor beat up cuticles… I know they are sightly, lol, I seem to have jobs that are really drying on my hands and I haven’t gotten myself into a cuticle oil habit yet :  / It might help if I move it from the shelf in the bathroom where it’s collecting dust into my nail room, lol!


20140107-021923.jpg


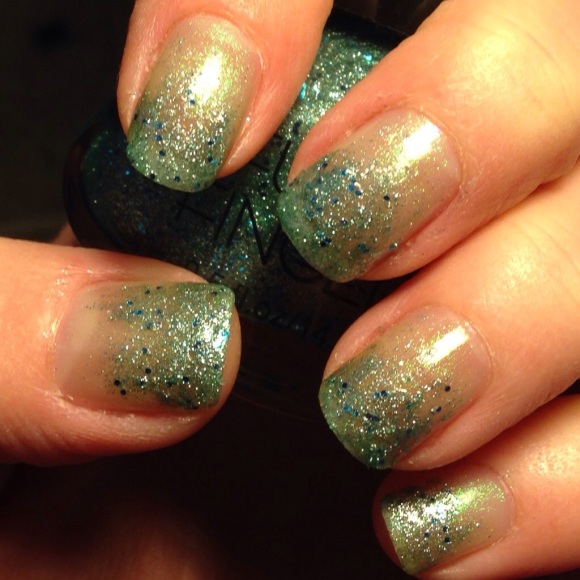
I don’t know if I’ve really tried this method of gradient/ombré before, but I strongly remember feeling like I wasn’t getting the hang of it at one point… After having done it on someone else it has certainly clicked.  I’m usually not one to use a lightly loaded brush… I hate when the paint drags so I usually load up nearly to the point of dripping, lay it on real thick and try to smooth it as thinly as possible because I hate when the brush is somewhat dry and I’m dragging the paint to the end.  So for me to try to put as little paint on as possible to do this ombre drag method was really going against my nature… However, I figured it out… For anyone else who might be scratching their head about this one, here is the tip.  I kinda put a bit of a blobby french tip on, still not too much tho, then I scraped all the paint off the brush and used this dry brush to drag the blob backwards toward the cuticle down the nail bed.  This is how you thinly disperse the paint across the nail until it fades away.  Simple!


20140107-021934.jpg


The colors used are Pure Ice HEARTBREAKER as the base, its a very sheer shimmery seafoam-ish green color with a blue/purple shimmery flash to it.  I used 3 coats and its still very sheer, only noticeable by its flash.  Its barely showing up in the pics and the angle isn’t proper for the flash, but its much more noticeable in person.  The tips are back brushed with Funky Fingers HIP CITY JACK which is a textured polish or theirs and was not labelled or advertised as such at the Five Below I got it at, just so you know… I would like more of their textured polishes tho, so if anyone knows of any names of their textured polishes, let me know in the comments : )  I added a topcoat of CND Air Dry to smooth it out and add extra sparkle to the texture because it dries rather matte.  I like it both ways but wanted it shiny for some reason today.


20140107-021943.jpg


Lastly, I added some snowflakes with my winter stamping plates I got a few weeks ago on Ebay.  I don’t know what brand they are, or even if they are a brand, but I found them by searching the plate numbers.  I got QA58, QA57 and HD05.  One is mostly all snowflakes, one is ugly sweater patterns and snowflakes and the last one has some snowflakes and other Christmas images.  If you do search for them be sure to look at the actual images for them because there are plates that have the same numbers but the images have nothing to do with winter… They reuse the numbers for some reason… Like I said, I don’t even know if they’re made by a brand, so there doesn’t seem to be any organization to the sets, lol…  But the images are really nice and come out clear for the most part… I’ve had to work with some of the more intricate designs trying to adjust the amount of polish to get the details to come out, but all in all I think they are a really good buy, and cheap, I got my 3 plates for about $10.  The backs don’t have paper like konad tho, and at first the edges seemed sharp but I haven’t had a problem except when I try to move the plate around it doesn’t slide very easily.  No biggie…


20140107-021952.jpg


Here is a pic further away so you can see what they look like from a distance.  I might have to matte it up before the day is up, if so I’ll add a pic!


Tagged , , , , , , , , , , , , , , , , , ,

Snowflake Fun & New Blog!

20131227-194705.jpg

20131227-194724.jpg

20131227-194734.jpg

20131227-194744.jpg

20131227-194758.jpg

20131227-194835.jpg

20131227-194852.jpg

20131227-194900.jpg

Ok, so I’ve decided to move my posts over to a macroblog, lol, so my Tumblr microblog can slim down a bit… I like to post a description and maybe some tips on how my designs are accomplished, as well as colors used for those who like to try their hand at some of my work and I really like it while scrolling on Tumblr when there’s a link to an external blog for more info… Sometimes I like to get more info on someone’s work and sometimes I just like to see the picture and I really thought it was time I give my readers the same option : ) So I hope it will be appreciated…

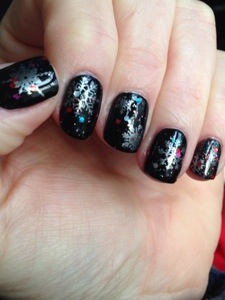
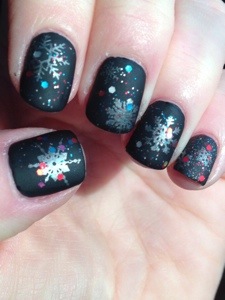
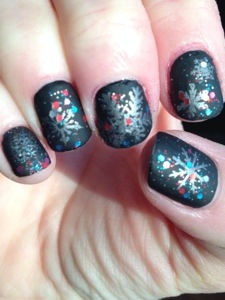
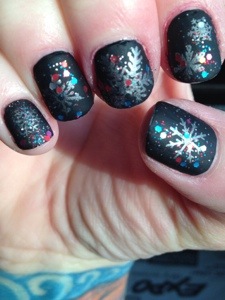
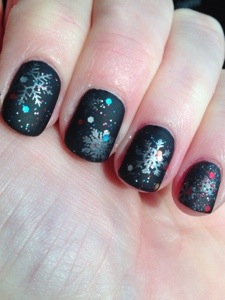
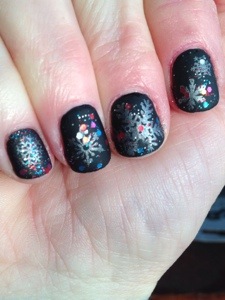
So now onto today’s mani… I saw this idea of silver snowflakes on a black background with glitter and matted while image searching & found it on girlshue.com.  It was so cute I just wanted to try it : ) I’m really excited about how the stamping came out this time, I think I’m starting to really get it, lol!  I stamped while my base color was still a bit tacky, so it sticks real good.  I waited a good while for my stamps to dry before applying my glitter, so I didn’t get any smudges, and I noticed while stamping that even tho you scrape the excess polish off the details come out a lot clearer if you really put barely enough polish on.  I mean really wipe your brush on the side of the bottle before applying… Make sure you have enough to cover the design, but really very little polish will do, so I’m going to do that from now on.  You can see the snowflake on the end of my left middle finger kinda came out blobby, lol.  Other than that I think I misinterpreted the color of glitter used because mine didn’t give me that snowy, romantic effect I got from looking at the inspiration mani, but all in all I like it… But I love anything matted : )

Colors used are :

Pinky base color: Pure Ice PRIVATE SHOW

Nina BLACK

Wet n Wild METALLICA

Color Craze CONFETTI

Essie MATTE ABOUT YOU

Thanks for stopping by, read ya later!

Tagged , , , , , , , , , ,